
Travel Photography Tips for Beginners (Shoot and Edit Like a Pro)
You booked the trip, packed the camera, and imagined yourself coming home with stunning shots. Then reality hit. Your photos look flat, tilted, or just plain forgettable. These travel photography tips are here to fix that. You don’t need a fancy camera or years of practice. You just need a few habits that separate snapshots from scroll-stopping images. Whether you shoot on a phone, mirrorless, or DSLR, the ideas below work. Pair them with a handful of photo editing tips at the end, and your feed will feel completely different by your next trip.
Key Takeaways
- The best travel photography tips focus on light, timing, and patience, not gear.
- Composition rules like leading lines and the rule of thirds instantly upgrade your shots.
- Simple photo editing tips can rescue mediocre images and make good ones great.
- A small, consistent workflow beats hours of random editing.
- Storytelling matters more than sharpness. Focus on moments people connect with.
Why Travel Photography Feels Harder Than It Looks
You’re tired. The light is bad. Crowds keep photobombing you. Sound familiar? Travel throws chaos at your camera. That’s why the pros plan around it instead of fighting it. Great images come from slowing down. When you rush, you shoot the obvious. When you pause, you notice what is actually interesting. Watch the scene for a minute before you lift the camera. You’ll spot a passing cyclist, a shaft of afternoon light, or a local gesture that turns a decent photo into a memorable one.
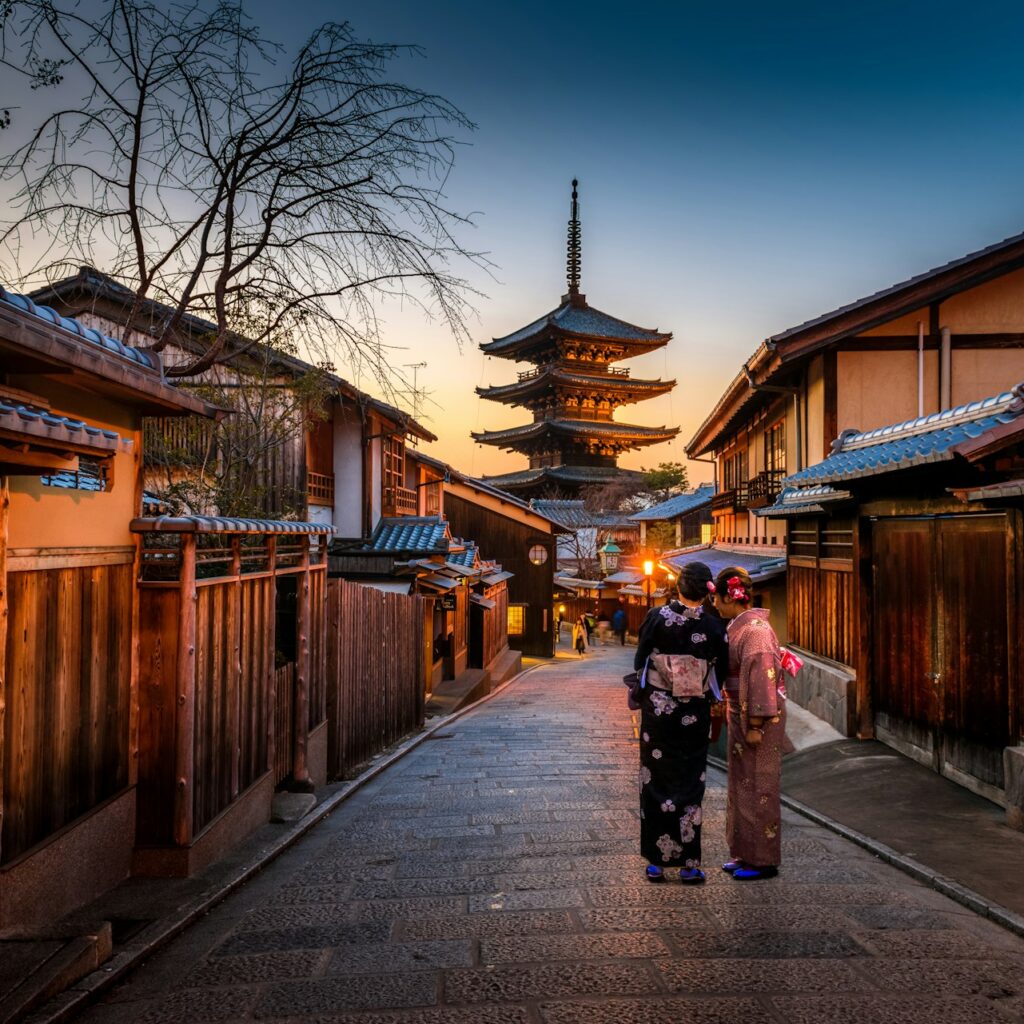
Photo Credit: Photo by Sorasak on Unsplash
7 Travel Photography Tips That Instantly Level Up Your Shots
Try these on your next trip. Each one takes minutes to learn and pays off forever.
- Chase golden hour: The hour after sunrise and before sunset gives you soft, warm light that flatters every scene. Set alarms if you must.
- Shoot in RAW when possible: RAW files hold way more detail, giving you room to recover shadows and highlights later.
- Get low or get high: Eye-level shots feel ordinary. Crouch, climb, or find a balcony to change the perspective.
- Include people in landscapes: A human figure adds scale and story to sweeping views.
- Zoom with your feet: Move closer instead of relying on digital zoom, which softens quality.
- Turn off the flash indoors: Ambient light almost always looks better than the harsh pop of a built-in flash.
- Take three versions of every important shot: One safe, one creative, and one weird. You’ll thank yourself later.
These travel photography tips work everywhere, from busy markets in Marrakech to quiet fjords in Norway.
Composition Rules Every Beginner Should Steal
Composition is what turns a nice view into a strong photograph. You can master the basics in an afternoon.
Start with the rule of thirds. Imagine your frame split into a 3×3 grid, then place your subject where the lines cross. Most phones can overlay this grid for you.
Look for leading lines next. Roads, rivers, fences, and staircases all pull the viewer’s eye deeper into the image. Use them to guide attention.
Frames within frames add depth. Shoot through a doorway, an archway, or between tree branches to layer your subject.
Finally, mind your background. A great subject with a cluttered background will always lose to a simple subject with a clean one.
If you love telling stories through faces, this travel portrait photo essay is a masterclass in composition.
Popular AI Photo Editors Worth Trying
Editing is where good photos become great. And no, you don’t need to become a Photoshop wizard.
An AI editor does the heavy lifting for you. Here are the ones travel creators reach for most.
- Quillbot: A free, browser-based AI image editor that balances color and exposure automatically, restores faded shots, and removes or swaps backgrounds in a click. Great for creators who want a no-cost fix on any device.
- Adobe Photoshop (Firefly): The industry standard, now with generative fill, generative expand, and neural filters baked in. Best when you want pixel-level control and compositing power.
- Adobe Lightroom: The strongest AI-powered RAW processor, with AI masking, adaptive presets, and cloud sync across devices. Ideal for photographers managing large travel libraries.
- Luminar Neo: Over 25 AI tools, including Sky AI, portrait bokeh, and skin smoothing. Offers a one-time purchase option, which travel photographers love.
- Topaz Photo AI: The restoration specialist. Denoises, sharpens, and upscales in ways nothing else quite matches, perfect for low-light and long-lens travel shots.
- Canva: Browser-based design plus AI editing. Magic Edit and background removal sit inside familiar templates, which suits social-first travel creators.
- Pixlr: A lightweight browser and mobile editor with Generative Expand, background removal, and quick retouch tools. Handy when you just want to post and go.
- Fotor: A budget-friendly editor with a free Basic plan and playful AI features like clothes and makeup changers. Best for casual edits and social posts.
Pick one that matches your workflow and stick with it for a few trips. Jumping between editors is what makes your style feel inconsistent.

Common Mistakes That Ruin Beginner Travel Photos
Avoiding these missteps will save you more shots than any gear upgrade.
- Shooting at high noon when the sun is harshest.
- Overusing heavy presets that flatten skin tones.
- Ignoring the story and shooting only landmarks.
- Forgetting to back up your files while traveling.
- Deleting “meh” photos too quickly. Sometimes the best crop hides in a shot you almost trashed.
Photo essays like these travel photo stories prove that the strongest travel images are usually the quietest ones, not the flashiest.
Building a Travel Photography Workflow That Sticks
Talent helps. Consistency wins.
Create a simple routine. Shoot in the morning, back up at lunch, and edit at night. Repeat.
Use folders by date and location. Future you will love past you for it.
Pick two or three editing tools and stick with them. Jumping between apps eats time and breaks your style.
The photographers behind these year-in-review highlights all have one thing in common. They shoot and edit with the same rhythm, trip after trip.
Final Thoughts on These Travel Photography Tips
You don’t need to be gifted to take beautiful travel photos. You need patience, curiosity, and a small toolkit of habits. Come back to these travel photography tips before your next trip. Practice one or two per day instead of trying to master them all at once. The camera is just a tool. The eye behind it is what makes the picture.
FAQs
1. What are the most important travel photography tips for beginners?
Focus on light, timing, and composition before gear. Shoot during golden hour, use the rule of thirds, and get closer to your subjects. These three habits alone will transform your images.
2. Do I need an expensive camera for travel photography?
No. Modern smartphones shoot beautifully when you nail composition and light. Upgrade only when your current gear starts limiting your creative choices, not before.
3. What’s the fastest way to edit travel photos on the road?
Use a mobile-first editor to handle exposure, cropping, and color in one pass. AI-powered tools can now clean up backgrounds and enhance subjects in seconds, saving you hours you would rather spend exploring.
Author Bio
Nimisha Sureka is a SaaS (Software as a Service) content writer with extensive experience writing for SaaS brands from early-stage startups to established platforms; she specializes in turning complex products into clear, compelling narratives that rank, resonate, and convert.
Follow the rest of the Top Experiences series
- TOP TWENTY THINGS TO DO IN EGYPT
- WHY YOU SHOULD VISIT MALTA
- TOP FUN THINGS TO DO IN HAMPI
- 10 HISTORICAL PLACES TO ROAM ACROSS THE WORLD
- 10 HISTORICAL MARVELS OF ITALY
- 10 BEST SHOWS IN EUROPE YOU MUST SEE
- DUBAI THRILLS: 7 MUST-DO ACTIVITIES
- 10 HISTORICAL MARVELS IN TURKEY TO ENJOY WITH KIDS
- MOST ENCHANTING PALACES IN EUROPE
- IN‑BETWEEN MOMENTS IN ASPEN
RESPONSIBLE TRAVELING-BECAUSE I CARE


